Network Cabinet Bracket — Installation Guide
Match the grid to your device's holes, hook it into the cabinet's keyhole slots, and hang your device. No drilling — about 5 minutes.
Your Network Cabinet Bracket mounts almost any device — an ONT, modem, router, switch, or media converter — inside a structured-media / network enclosure, using the keyhole slots the cabinet already has. The mounting face is a full grid of holes, so you place the screws wherever your device's mounting holes land. Nothing gets drilled.
What You'll Need
- Included in your package: the bracket with its 4 corner screws pre-installed, a set of device mounting screws, and a hex key
- Your device (the one you're mounting)
- That's it — no drill, no anchors, nothing permanent
How the Bracket Works
Two jobs, two sets of screws — and you only ever touch one of them:
- The grid face is for your device. Thread a screw into any square so it lines up with your device's mounting holes.
- The 4 corner screws on the back are the hooks that grab the cabinet. They're pre-installed — never remove them. Each sits low in its standoff so the exposed shank is on the bottom; the shank drops into the keyhole slot and the wider head catches behind the panel to lock it.


Install in 4 Steps
- Find your device's mounting holes. Flip your device over and note where its mounting holes (or keyhole slots) sit on the back.
- Set the screws in the grid to match. Thread a device screw into the grid square that lines up with each of your device's holes. Leave the heads standing proud — your device will hang on them.
- Hook the bracket into the cabinet. Hold it screws-down (exposed shanks on the bottom). Push the 4 corner screws through the round part of the cabinet's keyhole slots, then let the bracket drop down so each screw settles into the narrow slot. The screw head is wider than that slot, so it's trapped behind the panel and locks in place. To remove later: lift the bracket up until the heads reach the round openings again, then pull straight out.
- Hang your device. Slot your device's mounting holes over the grid screw heads. It hangs on the screws — done.


Troubleshooting
The bracket won't stay — it lifts back out.
It didn't drop into the locked position. Push the 4 corner screws through the round part of each keyhole slot first, then let the bracket drop so each screw rides into the narrow slot and the head catches behind the panel. If it went in upside down, the shanks are on top and can't catch — flip it screws-down.
My device's holes don't line up with the screws.
Loosen those screws and move them to the grid squares that do line up — that's what the grid is for. Hold the device against the face to eyeball the spacing before you tighten.
My device has no mounting holes on the back.
Then it needs a shelf, not this bracket. Message us and we'll point you to the shelf bracket that fits your cabinet.
Appendix — Keystone Patch Panel
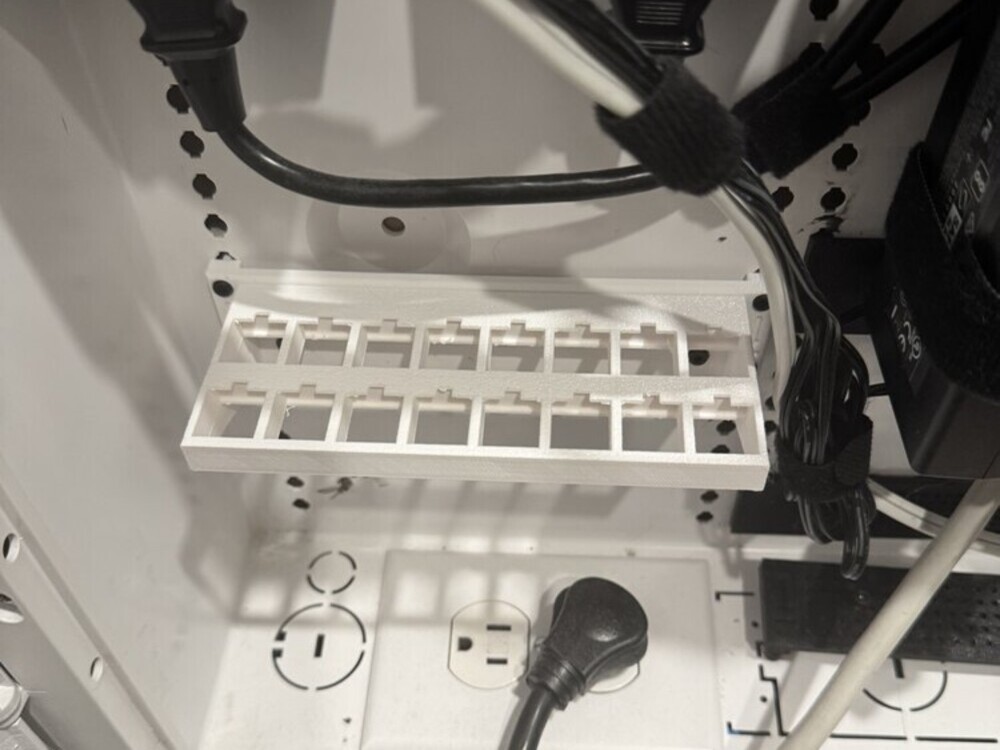
The keystone patch panel mounts on the same brackets. It gives your Cat6, coax and HDMI keystone jacks a proper row instead of leaving them loose in the cabinet. It goes anywhere on the cabinet's keyhole grid — top, middle or bottom, whichever suits your cable runs.
- Pick your orientation. Horizontal uses one bracket; vertical stands the panel on two. Both ship with the panel.
- Bolt the panel to the bracket(s). Two M3×8 screws go through the panel's feet into the bracket. Snug is enough — do not overtighten into the plastic.
- Hook the bracket into the cabinet exactly as in Step 3 above: screws down, through the round part of the keyhole, then drop to lock.
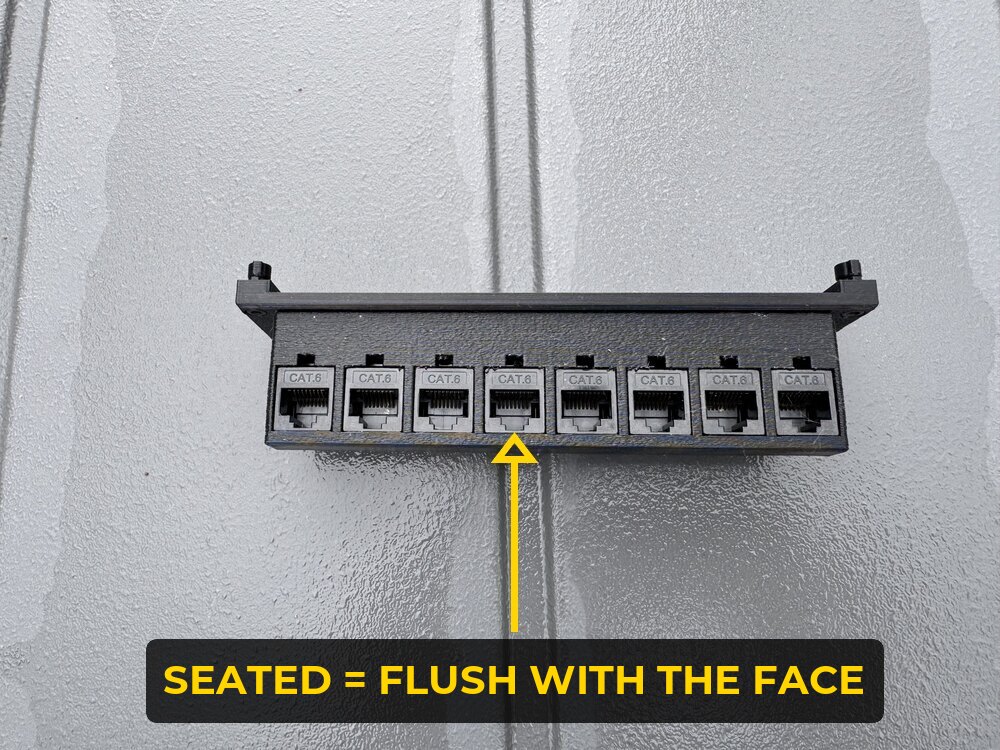
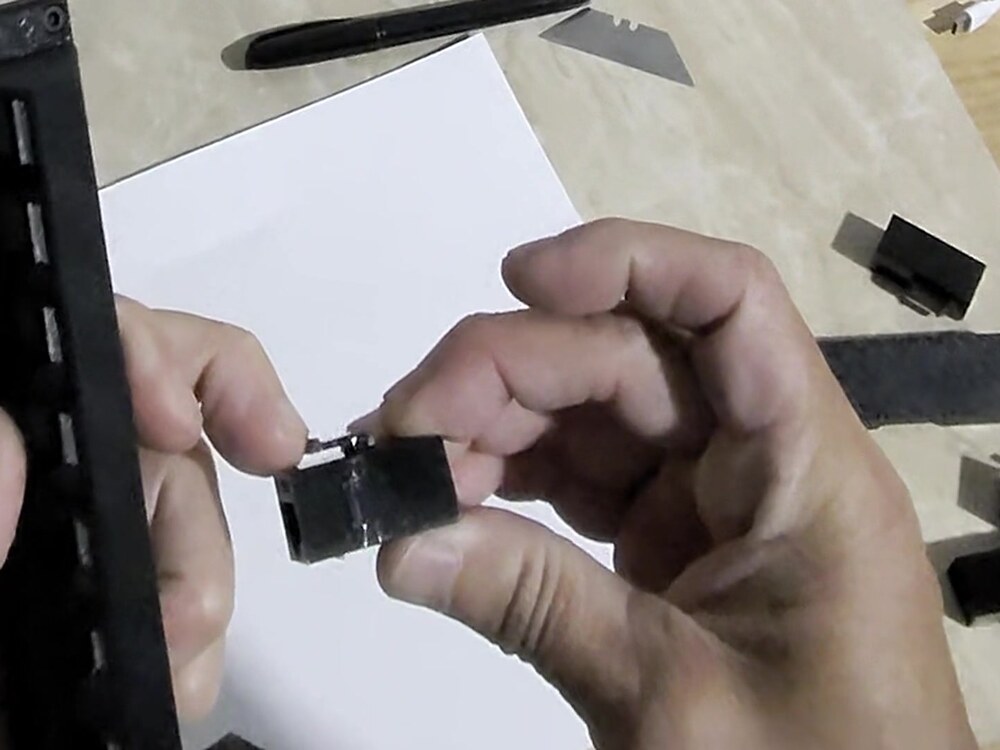
- Snap your keystones in from the front. Start the bottom edge of the jack — the side nearest the floor — into the port first, held at a slight angle, then press the top in until it clicks. A seated keystone sits flush with the panel face; if it stands proud, it is not in yet.
- Keep every jack the same way up. Do the whole row in one orientation so the release latches on your patch cables all land on the same side. Mixing them up still works, but you will be fighting the cables every time you unplug one.
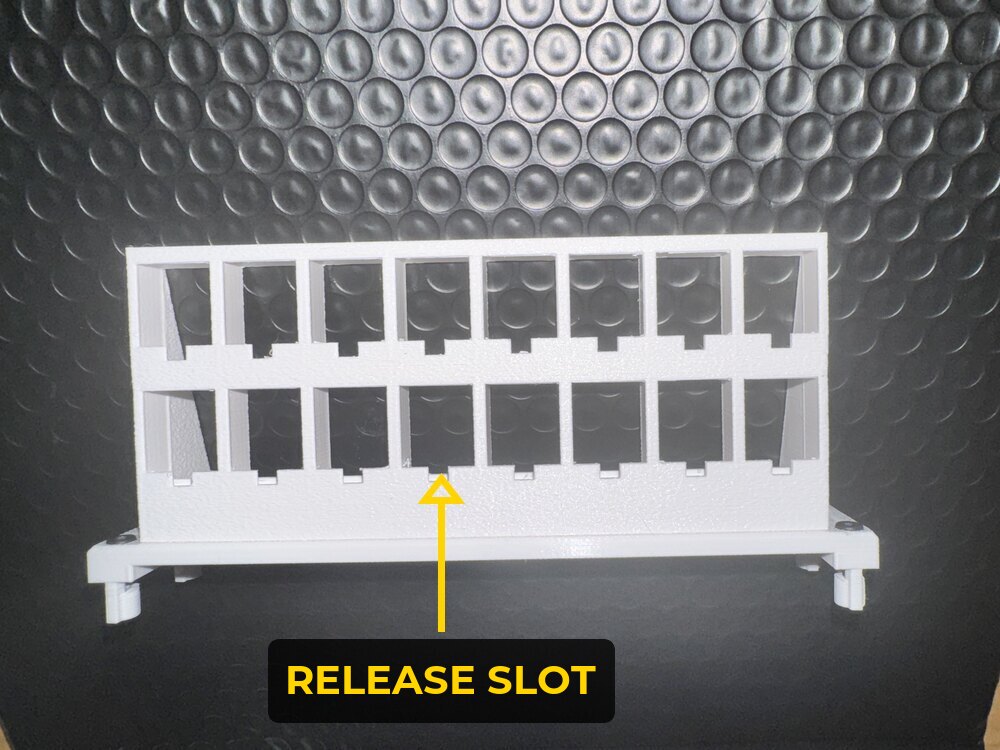
- To take a keystone back out, use the release slot — the small notch at the front-bottom of each port. Press into it with a small flathead and the jack lets go. The panel stays bolted in the cabinet; you never have to unmount anything to swap a jack.
Watch: seating and releasing a keystone
Seating a keystone — bottom edge first, slight angle, press until it clicks flush.
Taking one back out — a small flathead in the release slot and the jack lets go.
A keystone sits proud, or won't click in.
Check it is a standard snap-in keystone and that it is going in from the front face. The front lip is deliberately shallow so the jack seats flush; pushing one in from the back will bind against the rear lips.
I pressed the release slot and the jack still won't come out.
Press into the slot rather than down along the panel face — the latch sits just inside it. Keep the pressure on and push the jack forward out of the front at the same time; the latch only has to clear by a fraction. If the flathead is wider than the slot it will ride on the panel instead of the latch, so use a small one (2 mm or so, the kind that comes with glasses repair kits).
Need the Network Cabinet Bracket or the Complete Kit?
Get It on EtsyMade to order in Tampa, FL — sized for structured-media enclosures. Single brackets or the complete cabinet kit.